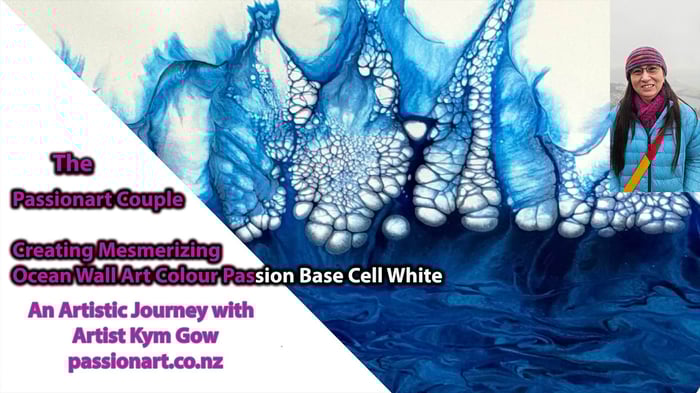

How to Flood Coat your Dirty Pour, Artwork with Resinzwood; Resin Wood Tables NZ. Learning How To Flood Coat, as it is commonly known, is when you put that final layer over your prized piece of art. Whether this is a functional or traditional art piece, you will want to showcase it in all its glory. Hence, you must use the right products to enhance your artisan piece and give it the Wow factor. The principle here is akin to the final steps of how to flood coat that you will take when doing a tabletop or bar leaner, for example, with a few added steps in those types of applications that we will discuss in other blog posts that directly relate to that task.
This now brings me to the topic of using exemplary resins to achieve the best results, and sometimes, that is hard to figure out, with so many companies proclaiming that their resins are the best. So this is just something you will have to navigate on your own, meaning you may not listen to my opinion opting to try other brands before coming back home to Resinzwood products that have been formulated over many years for our primary business of making tables and other Artisan, Bespoke furnishings.
By being Bespoke custom-made furnishing craftsmen, first scouring our backyard and globally for the ultimate solutions has made our team somewhat of an authority about epoxy resins and finishings. Having found the best companies to import epoxy resins from that have been tweaked to suit our requirements for our custom theme table production along with products that we produce right here in Christchurch, NZ, we now proudly sell these to the general public so Artisans from all walks of life can benefit, just as our clients do of having superior products covering their timeless heirlooms we craft.
Tips & Tricks - Flood Coating
- Always opt for our Resinzwood, Passionart, or Colour Passion Resins for the best finish. These are the Highest-Quality Resins you can trust for all types of applications.
- Always ensure your working area is warm, above 22°C. This is crucial for the resin to set correctly and achieve the desired finish.
- Always calculate the volume you need using our Resin Calculator
- Always mix more than you need to ensure you have enough product
- Always make sure your resin has been warmed/use a water bath to heat containers
- Always add your hardener to the container first so the product lines the sides. This ensures that all Part A Resin comes into contact with Part B. This will ensure that when you scrape out your resin, no raw material is stuck to the sides of the container.
- Always use your PPE, especially gloves/eye protection
- Once you have poured your resin, use a blue flame torch to get rid of the microbubbles, heating the resin for a beautifully perfect finish
- Leave your artwork in the warm room until fully cured, usually 24 hours
Help and Support
We are here for you every step of the way. No question is too small or too silly. You can reach out to us anytime, 7 days a week, and we'll get back to you as soon as possible.