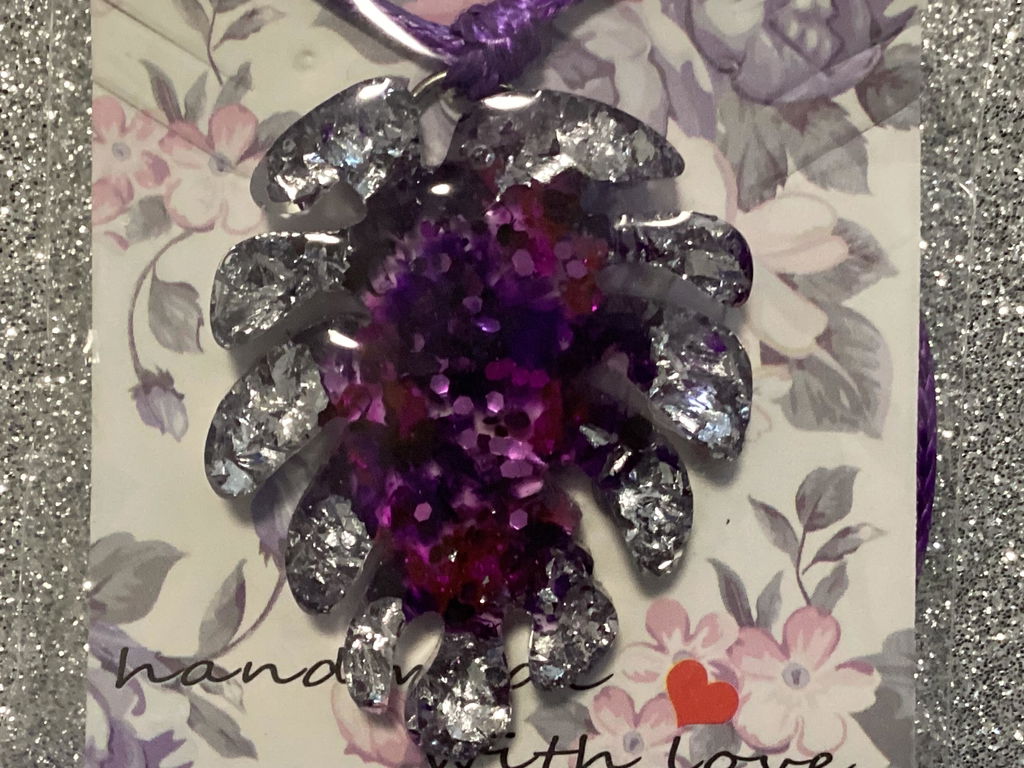
Learn How To Make A Resin Wood Table with Resin Wood Tables NZ right here. You are entirely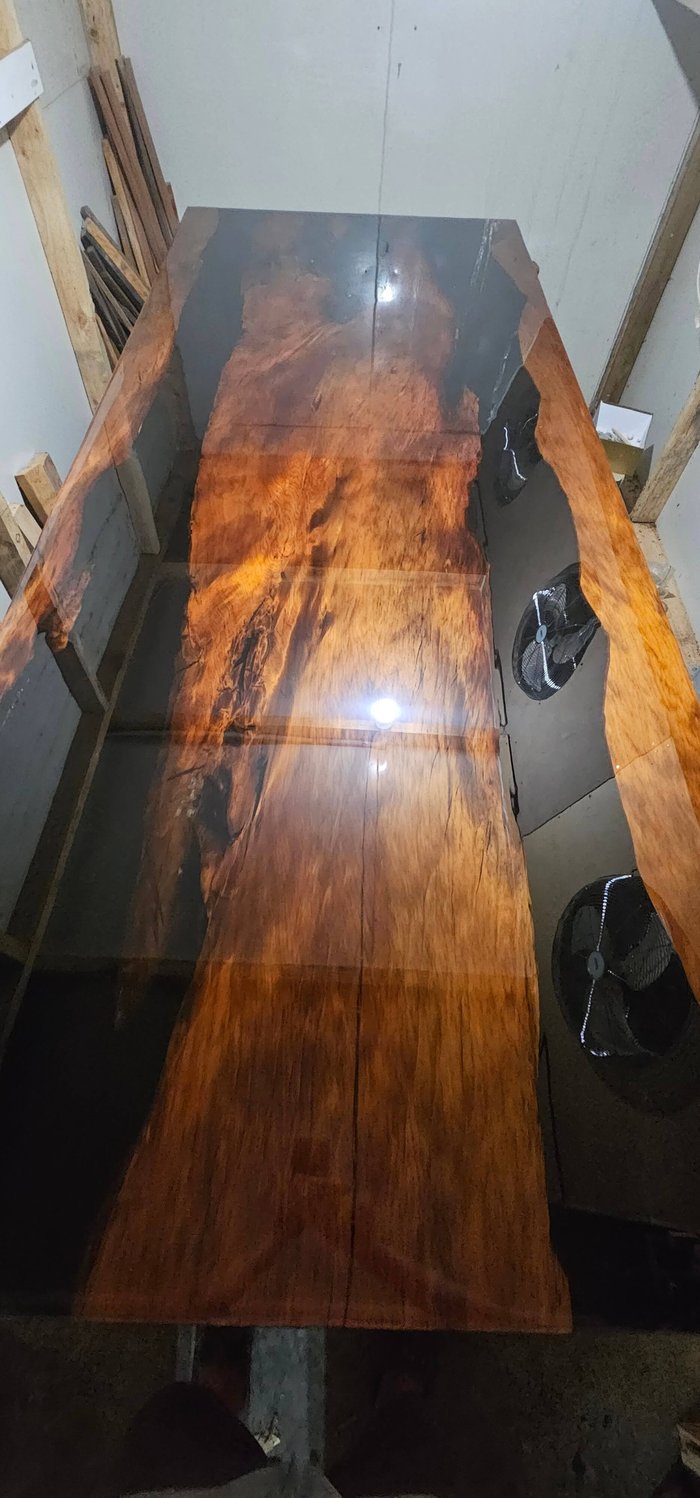 new to resin and the craft of making a table. You may have watched many YouTube videos, only to discover that they all show parts of the process without getting down to the nitty-gritty. My advice would be to start with small projects and work up from there. We have helped others achieve their goals this way, with a few moving on to bigger projects they have sold, making a substantial amount of money.
In the following sections of How to Make A Resin Wood Table, I will focus on the key areas, explain each section, and explain the importance of each stage so you can minimise mistakes. Mistakes are not a bad thing; we all learn from them, and we have all made them as we gain knowledge and skills to master this craft.
Wood Choice and Facts
Whether you are making a serving platter, chopping board, or coffee or dining table, you will start by purchasing your wood. All timber dries to the optimum for crafting over several years from the time it has been cut into slabs or cookies.
Slabs of timber are cut into chopping boards, coffee tables, or dining tables; you will start by purchasing wood. All timber dries to the optimum for crafting over several years, and occasionally, it longways with the grain. Cookies are cross-cuts of the grain, like the rounds of the tree. Slabs of timber generally dry at a rate of 25mm per year when air-dried outside, and cookies dry 15 times faster than long-grain-cut slabs, meaning the wood is cut with the direction of the grain. If you have a slab of, say, Macrocarpa or Swamp Kauri, for example, one may dry slightly faster than the other, but the rule of thumb is the same.
Kiln Dry Timber
Here at Resin Wood Tables NZ, when we Make A Resin Wood Table, we use our kiln to dry our timber to a moisture content between 8 and 12 per cent, which is the optimum for making furnishings. Timber that has been air-dried over several years rarely drops below 14 to 18 per cent moisture content, so kiln drying speeds up this natural process, bringing it to a lower MC than air drying alone.
We can kiln-dry your unique piece for you, whether you are local to the Canterbury region or outside it. Just message or email us about this service.
Maximum Moisture Content
A maximum amount of moisture in the timber is needed to make anything from platters to tables that will be fully encapsulated in resin; you do not want the wood to be over 14% MC. The best practice is below this number.
If you are making a project that may be oil-finished, ideally the timber should be at or below 11% MC.
Too much moisture in my wood
If you have too much moisture MC in the wood, it will be prone to bend, curl, or cup, as we say, and this will not be stopped by having the timber fully encapsulated in resin. Thus, the reason is to ensure your timber is as dry as possible. Here at Resin Wood Tables NZ, we sell Swamp Kauri, Macrocarpa, and Walnuts that have all been kiln-dried, or we can kiln-dry them to order, which takes 6 to 8 weeks.
Plane Timber flat
You will need to get your timber planed flat so you have a good base to work from. You can watch YouTube videos on how to make a basic router sled for this job, or message us for pricing on a basic or professional router setup, depending on the size you want.
Do I need a Mould?
You only need to make a mould to Make A Resin Wood table if you plan to run a river through the middle of the slab or to make a platter or table consisting of multiple resin pieces along the outer edges. We make 600mm x 300mm moulds that you can purchase from our site, and we have a tutorial video on how to assemble them. The principle is the same whether you make it from start to finish or we create one for you and ship it ready to use.
When is a mould not required?
A mould is not required to make a resin wooden table when you router out rivers in the timber that do not go through the wood. If you do this, you use tape to block off the ends of the wood where the resin comes from. Alternatively, you can cut the ends of the river 10mm deep along the outer edge to make it look like the resin is solid through the timber where the river runs. This is a much better look.
Seal Coating the Timber
Use our one-to-one Multi Sealer, which is solvent-based, to seal the timber with multiple coats until you can no longer see any dry areas on the wood. Do NOT use this to fill voids or deep holes, as it is designed to seal coat all micro holes in the wood, preventing the timber from releasing air into your topcoats. We recommend using our Knot Hole resin to fill voids and small holes in the wood. Ensure that you use the Knot Hole filler only for pours up to 5mm deep at a time. For much deeper holes and voids, use our Ocean Cast resin, designed to be poured crystal clear up to 35mm deep at a time.
Pouring a River or Outer edges in a mould
If you have a board or tabletop with timber with resin around it or running through the middle of two pieces of wood, you will want to use our Crystal-Clear Ocean Cast epoxy. Depending on the volume, this can be poured up to 35mm at a time, as having more product in the mould at any one time increases the exothermic reaction time of the curing process. The optimum temperature for the resin should not exceed 35 degrees Celsius.
If your river is more than 35mm deep, pour another layer once the first layer has almost cured or has fully cured. If the resin has fully cured, give it a light sanding to create a mechanical bond. But if the resin is still tacky, pour the next layer over the top. You can create effects here by pouring a second transparent layer, and I will discuss this in another How-To post about resin effects.
Pouring a Router Shaped River
If you Make A Resin Wood Table by pouring a river of resin through a piece of timber and using a router to shape the river, you do not need a mould, as the resin is contained. You may, however, cut out 10mm on each end to give the impression that the river is solid through the table or board. This provides a better look at your finished piece than having the resin show only half the thickness where you routed the timber.
Second Planning of Platter Tabletop
Once your piece looks the way you want it and the resin has had at least 3 days to cure fully, remove it from the mould and set it up on the router table again to plane both the top and bottom dead flat. You will likely have to do this step, as resin, when it cures, shrinks and pulls on the timber, causing the outer edges to curl up a bit.
Once you have planned both the top and the bottom, go back and use the sealer to repeat the process to ensure your piece is fully sealed and will not release air, which can cause annoying bubbles in your final coat or coats. This does occur even with us, and we have decades of experience using epoxies and other resins.
Final Flood Coats
Once you are ready to apply your final floodcoats, ensure that your piece is at room temperature or above 22 degrees Celsius. Heat your resin to around room temperature before you mix it. We use two products for our final coats, but the choice is yours now.
You can use the finishing compound by itself, and it is perfect for areas with high UV protection, like filtered light inside a home not in direct sunlight, especially in New Zealand. If you have your piece in direct sunlight for long periods, we strongly recommend our extremely High UV, High-performance, ultra-fast resin, which will give you a perfect hard-level finish.
Here at Resin Wood Tables NZ, we always use our High UV resin as the final coat on all our tables and bar stools for the best protection.
Do I Need to Polish the Topcoat
You should never have to use polish or do any sanding with our high-performance resins, like Ultra Fast Tabletop resin, because the finish is perfect every time. You will see in some of our older videos that we used to sand and polish, but that was back when resin quality was poorer.
Resins All You Need To Know
Ensure you research the facts about each of our top-quality resins so you can make an informed decision on the resin best suited for your project.
Need More Help?
If you use our products and need more help, we are here to help. Just message us through our Facebook page or Messenger, email us, or call/Text Paul on 021966387. I am here to help you get the best results seven days a week from 8 a.m. to 9 p.m.